
Your walls are the most underused storage in your home — wall cabinets are how you finally put them to work.
I’ll say it straight: wall cabinets are the single hardest-working storage move you can make in a kitchen, bathroom, or laundry room. They pull your clutter off the counters and the floor, they make small rooms feel bigger, and when you pick the right style, they quietly upgrade the whole look of the room.
Over the years I’ve helped friends plan everything from a first-apartment kitchen to a full bathroom refresh, and the same questions keep coming up: how deep should they be, which style looks expensive without costing a fortune, and what’s safe to hang on drywall. This guide answers all of that — with 15 concrete wall cabinet ideas for every room, real sizing numbers, renter-friendly notes, and the mounting mistakes to skip.

NeONBRAND, CC0 via Wikimedia Commons
What Are Wall Cabinets?
Wall cabinets are storage cabinets that mount directly to the wall, usually above countertops or fixtures, so they add storage without taking up any floor space. You know them as kitchen upper cabinets — the boxes holding your dishes and glasses — but the same idea works in bathrooms, laundry rooms, living rooms, and entryways.
The standard kitchen wall cabinet is 12 inches deep and 30, 36, or 42 inches tall, hung so the bottom edge sits about 54 inches off the floor (roughly 18 inches above the countertop). Bathroom and living-room versions are often shallower — anywhere from 8 to 12 inches deep — since they hold smaller items. Wall-mounted cabinets, floating cabinets, and upper cabinets are all the same idea wearing different names.
Why You’ll Love These Wall Cabinet Ideas
- Storage without losing floor space. Every cabinet on this list adds storage on the wall, which means your small kitchen or bathroom keeps its walkable footprint.
- Counters stay clear. When everyday items live behind wall cabinet doors, your counters finally look calm — and cooking or getting ready gets easier.
- One style move upgrades the room. Swap builder-grade oak uppers for white shaker or warm wood uppers and the whole kitchen reads as renovated.
- Options for every budget and lease. From a $60 over-the-toilet cabinet to custom to-the-ceiling millwork, there’s a wall cabinet idea here for renters and owners alike.
- They solve awkward walls. That dead space above the washer, beside the entry door, or flanking a TV becomes the most useful real estate in the room.
Kitchen Wall Cabinet Ideas
The kitchen is where upper cabinets do the most obvious work — holding dishes, glasses, spices, and the hundred little things that make cooking possible. Here are the five ideas I recommend most.
1. The Glass-Front Display Upper
Swap one or two solid wall cabinet doors for glass fronts and suddenly your prettiest dishes become decor. I love this flanking a range or a sink window, where the contents get natural light. Glass-front uppers make a small kitchen feel noticeably bigger because your eye reads the cabinet depth through the glass instead of stopping at a flat door.
The catch: you’ll see the contents, so commit to matching everyday dishes or display-only pieces behind the glass. Mixing a little of both is fine — put the pretty stuff up top and the daily bowls lower.
Try it: Start with a single glass-front wall cabinet over the coffee station — low commitment, high visual payoff.
2. To-the-Ceiling Wall Cabinets
Standard 30-inch uppers leave a dusty gap above them that collects grease and looks unfinished. Taking cabinets all the way to the ceiling — with stacked 42-inch boxes or a second row of shorter uppers — kills that gap and hands you a full extra row of storage for holiday platters, small appliances, and things you touch twice a year.
This is one of the most convincing “custom kitchen” moves on a stock-cabinet budget. The top row will need a step stool to reach, so zone it for rarely-used items and keep daily dishes in the lower cabinets.
Try it: Measure your ceiling height first — 8-foot ceilings pair perfectly with 42-inch uppers plus crown molding; 9-foot ceilings can take a stacked double row.
3. Under-Cabinet Lighting Built Into Your Wall Cabinets
This isn’t a cabinet style so much as a transformation of the ones you have. A strip of warm LED tape tucked under your uppers turns a dark counter into a work surface you can actually see — and at night, with the overhead lights off, the whole kitchen glows like a restaurant.
Hardwired strips are the clean look, but plug-in or rechargeable battery pucks work beautifully for renters — no electrician, no holes in the cabinet beyond a dab of adhesive. Pick 2700K–3000K warm white so food and skin tones look natural.
Try it: Start with one battery-powered LED strip under the wall cabinet over your main prep counter and see how often you reach for the overhead light after that.
4. Corner Wall Cabinets That Stop Wasting Space
Kitchen corners eat storage. A blind-corner wall cabinet — one that turns the corner without a door on the turn — can hide a surprising amount of space behind that dark bend. A lazy-Susan-style rotating tray or a simple pull-out insert inside turns that dead corner into the easiest cabinet to use in the kitchen.
If you’re ordering new cabinets, ask about angled corner uppers with a diagonal door — they cost a bit more but eliminate the blind spot entirely. For existing cabinets, a $30 rotating tray retrofit does 80% of the job.
Try it: Open your corner wall cabinet and honestly count what lives back there. If the answer is “I don’t know,” you need the tray.
5. Pull-Down Shelves for High Wall Cabinets
If your uppers run tall — or you’re shorter than your kitchen designer assumed — the top shelves become decoration by default. Pull-down shelf inserts swing the contents down and toward you, so spices, oils, and small bowls stay reachable without a step stool.
These retrofit into most standard 12-inch-deep uppers and install with a handful of screws. They’re one of the best accessibility upgrades you can make, and they genuinely change which shelves you use daily.
Try it: Install one pull-down insert in the wall cabinet beside the stove for cooking oils and spices — it’s the spot you’ll feel the difference first.
Also Read: 15 Best Base Cabinets Buying Tips: Sizes, Types & Costs
Bathroom and Laundry Wall Cabinet Ideas
Bathrooms and laundry rooms are where upper cabinets punch far above their weight — the rooms are small, the clutter is constant, and there’s almost no floor to spare.
6. The Mirrored Medicine Cabinet
A recessed or surface-mounted mirrored medicine cabinet does three jobs at once: mirror, daily-toiletry storage, and visual depth. Modern versions are far from the rusty boxes of the past — many now come with interior mirrors, adjustable shelves, and even soft-close hinges.
For a rental, a slim surface-mounted mirrored cabinet hangs on two screws and comes down cleanly when you move. For an owned bathroom, a recessed unit set between the studs sits flush and looks built-in. Either way, keep it at eye level over the sink, not so high you’re stretching past your toothbrush.
Try it: Measure your vanity width and pick a mirrored wall cabinet no wider than the vanity itself — narrower looks intentional, wider looks crowded.

Kotivalo, CC BY-SA 3.0 via Wikimedia Commons
7. Over-the-Toilet Wall Cabinets
The wall above the toilet is dead space in almost every bathroom, and an over-the-toilet wall cabinet turns it into the room’s biggest storage zone — spare towels, toilet paper, cleaning supplies, all hidden behind doors. This is the highest-impact wall cabinet you can add to a small bathroom, often for under $100.
Two cautions from experience: hang it high enough that tall guests don’t bonk their heads (the cabinet bottom should clear the tank lid by a comfortable margin), and never mount it on drywall anchors alone — it carries real weight. Studs or a proper mounting rail are non-negotiable here.
Try it: If you’re renting, a freestanding over-the-toilet etagere gives you the same storage with zero holes — same look, no lease risk.
8. The Linen-Depth Bathroom Cabinet
Here’s a detail most bathroom wall cabinet guides skip: towel storage needs depth. A standard 8-inch medicine cabinet can’t hold folded bath towels. If you want your bathroom uppers to actually store towels, spec a linen-depth cabinet — 12 to 14 inches deep — on an empty wall or above the hamper.
Folded bath towels are roughly 10 inches deep when folded in thirds, so that 12-inch depth is the magic number. One linen-depth wall cabinet beside the vanity can hold the whole household’s weekly towels and free an entire shelf elsewhere.
Try it: Fold one bath towel and measure it — then you’ll know exactly what depth your bathroom wall cabinet needs to be.
9. Laundry Room Wall Cabinets Over the Machines
Above the washer and dryer is the most wasted wall in the house. A run of shallow uppers there swallows detergent, stain removers, dryer sheets, and the lost-sock collection without stealing a single inch of folding space.
Go shallower than kitchen standard here — 10 to 12 inches deep is plenty, and it keeps the cabinets from looming over the machines. Leave a few inches of clearance above the washer lid’s swing if you have a top-loader. And leave one section open or add a small shelf: the detergent you grab every load shouldn’t live behind a door you have to open with wet hands.
Try it: Mount one 30-inch-wide wall cabinet centered over the washer for detergents, and keep a small open shelf beside it for the daily-use items.
Living Room, Entryway, and Home Office Wall Cabinet Ideas
Upper cabinets aren’t just for wet rooms. In living spaces they hide media clutter, wrangle entryway chaos, and give home offices a built-in look — all while keeping the floor clear and easy to vacuum.
10. Floating Media Wall Cabinets
A pair of shallow floating cabinets flanking the TV — or one long low cabinet hung just above the floor — hides every cable, remote, and game controller while making the wall look like custom millwork. Because they float, the floor underneath stays visible, which tricks your eye into reading the room as bigger.
Plan for the tech: pick cabinets deep enough for your components (12–14 inches usually does it), and drill a cable pass-through or use a ventilated back panel so consoles don’t overheat. Mounting into studs is essential — a TV wall loaded with gear is heavy.
Try it: Hang one 60-inch floating wall cabinet centered under your wall-mounted TV and run the cables through the cabinet’s back — the whole wall calms down instantly.
11. The Entryway Drop-Zone Cabinet
Every home has a pile-up spot by the door: keys, mail, sunglasses, the dog leash. A slim wall cabinet with a flip-down or drop-front door turns that pile into a system — mail slides in, keys hang on interior hooks, and the closed front keeps it all invisible to guests.
Keep it shallow (8–10 inches deep) so it doesn’t eat the walkway, and hang it at about 48–54 inches high — easy reach, out of the way of backpacks and swinging bags. A small shelf or picture ledge on top gives you a landing spot for the things that stay out.
Try it: Pair the drop-zone cabinet with three wall hooks underneath for coats and bags — the combo handles a whole household’s daily arrival in four square feet of wall.
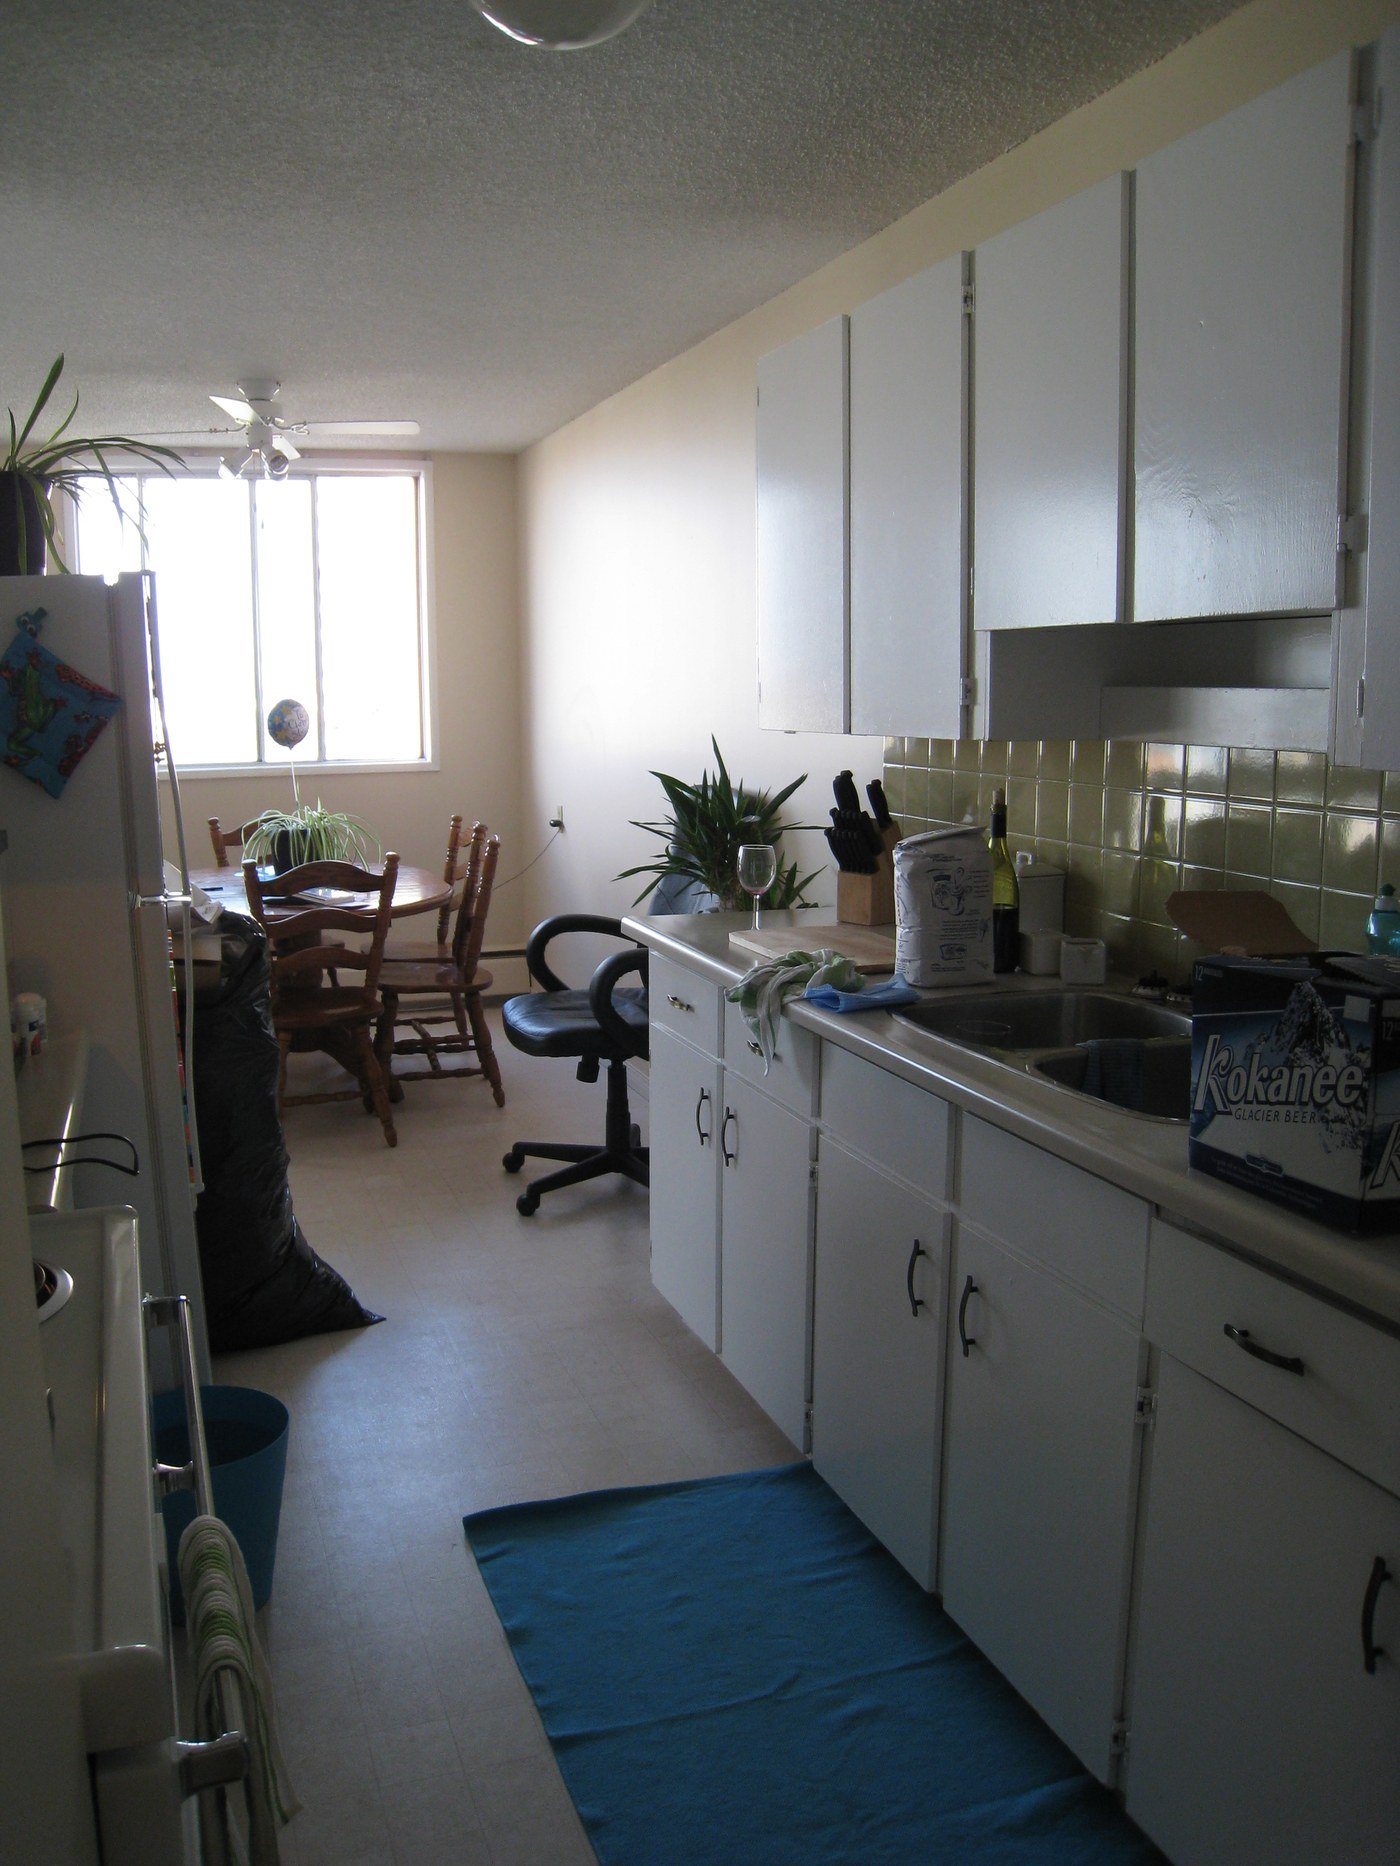
Orizan, CC BY-SA 2.0 via Wikimedia Commons
12. Home Office Wall Storage
Desks attract paper. A row of closed uppers above your desk swallows the printer paper, chargers, notebooks, and reference books that turn a desk into a stress object. Unlike open shelves, closed wall cabinet doors mean you never have to “style” your office storage — it just stays tidy behind the doors.
Hang office uppers a bit higher than kitchen standard — the bottom edge around 58–60 inches keeps your sightline open while you’re seated and leaves room for a monitor arm or desk lamp underneath. Add one open niche in the run for the books or objects you actually like looking at.
Try it: Start with two 24-inch uppers over the desk and leave a 12-inch gap between them — the gap becomes a natural display niche for free.
Wall Cabinet Styles, Colors, and Hardware
Once you know where your uppers go, the fun part is choosing how they look. These three directions cover nearly every home — pick the one that matches your existing finishes, not the trend of the month.
13. Classic White Shaker Wall Cabinets
White shaker is the default for a reason: the recessed panel adds just enough detail to look designed, while white keeps small rooms bright and makes resale simple. It works with marble, butcher block, quartz — basically every countertop — and it never fights your wall color.
The honest downside: white shows grease and fingerprints faster than darker finishes, especially around the stove. Budget five minutes a week with a damp microfiber cloth and they’ll stay crisp for years. Pair with brushed nickel or matte black hardware depending on whether you want soft or punchy.
Try it: If your kitchen already has white shaker base cabinets, match them exactly — mixed whites across brands can clash in daylight.
14. Warm Wood-Tone Wall Cabinets
Cherry, walnut, white oak, and even warm maple are having a well-earned moment, and wood-tone uppers bring warmth that painted cabinets simply can’t. They pair beautifully with white or light walls, which keeps the room from feeling dark even with richer cabinet color.
My strong opinion: pick a wood tone with visible grain and a matte or satin finish — glossy wood reads dated, while a soft natural finish reads expensive. White oak is the current sweet spot for looking current without chasing a trend. If your budget is tight, wood-look laminate on the uppers with real wood only where hands touch is a smart compromise.
Try it: Sample the stain on a large board and look at it in your actual room light — showroom lighting lies about undertones.
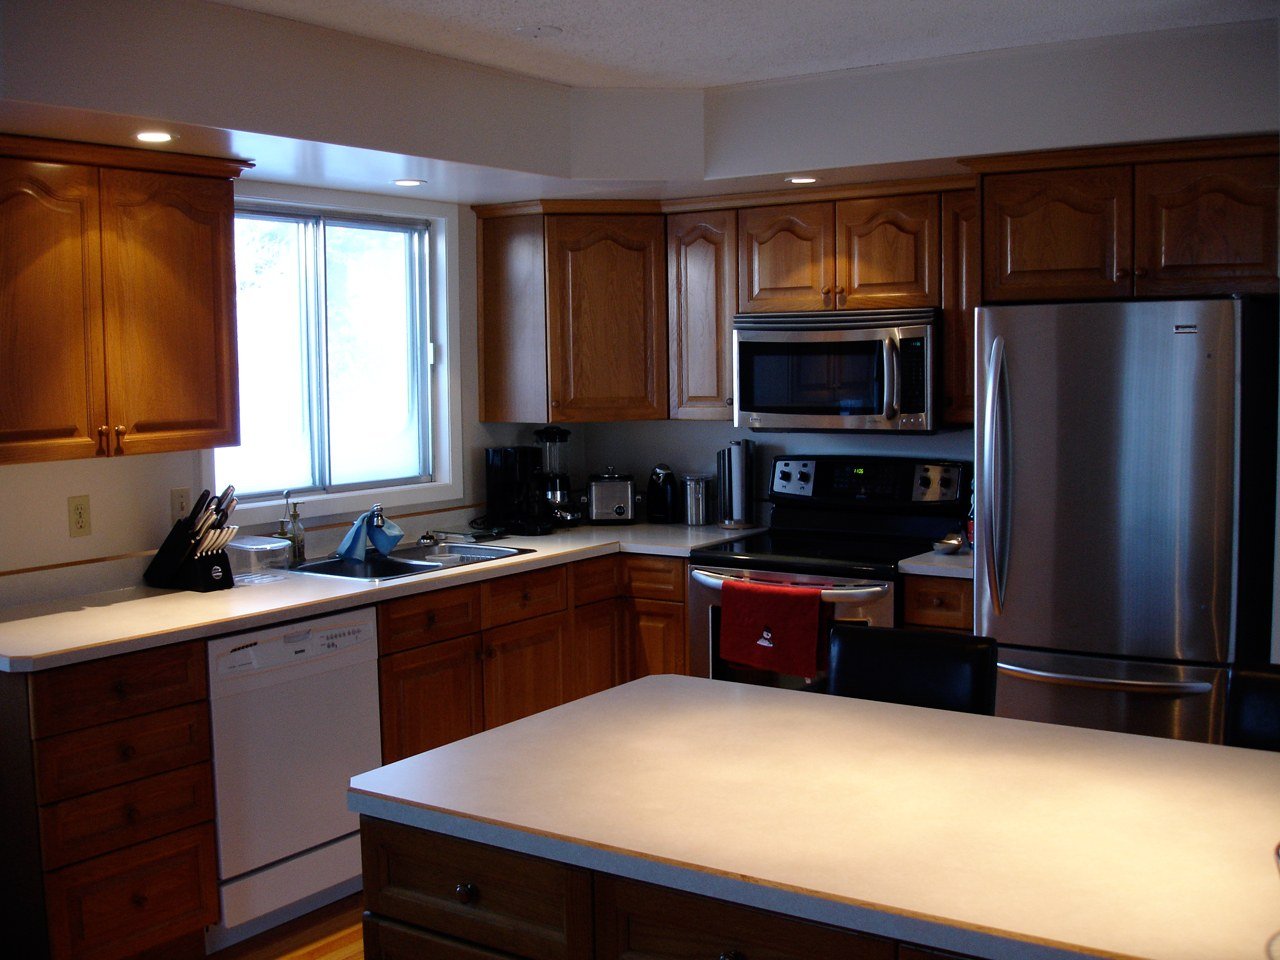
Mindmatrix, CC BY-SA 2.0 via Wikimedia Commons
15. Two-Tone Cabinets With Statement Hardware
Two-tone kitchens — darker or bolder uppers against lighter bases, or vice versa — add the visual interest of a designer kitchen without a designer budget. Navy, deep green, or black uppers over white base cabinets is the classic combo; it grounds the room and photographs beautifully.
Hardware is the exclamation point: oversized matte black bar pulls, unlacquered brass knobs that patina over time, or leather pulls in a rustic space. This is the cheapest upgrade on this entire list — a Saturday, a screwdriver, and $3–$8 per pull transforms the cabinets you already own.
Try it: Replace just the hardware on your existing uppers first. If that scratch satisfies the itch, you’ve saved yourself a repaint.
Also Read: 15 Best Kitchen Shelves Ideas for Stylish Open Shelving
How to Make Wall Cabinets Your Own
Good upper cabinets are a plan, not a purchase. Run through these before you buy or hang anything:
- Measure the wall, then measure your reach. Standard kitchen uppers hang with the bottom edge about 54 inches off the floor, but if everyone in your house is under 5’5″, dropping them an inch or two makes daily life easier. Tape the outline on the wall with painter’s tape and live with it for a day before you commit.
- Find the studs — always. Uppers full of dishes are heavy. A stud finder is $20 and takes two minutes; every mounting screw should bite into solid framing. On drywall alone, even rated toggle bolts are a compromise I’d only accept for very light, shallow cabinets. The CPSC’s Anchor It! guidance drives the same point home for heavy wall-mounted furniture: secure mounting into structure is what keeps things safe.
- Renters: check the lease and plan the patch. Most landlords allow small mounting holes you’d fill with spackle at move-out; few allow a full kitchen’s worth of cabinet screws. Over-the-toilet etageres, leaning storage, and freestanding pantry cabinets give you the wall-cabinet look with zero holes.
- Match depth to the room. Kitchen uppers: 12 inches standard. Bathrooms: 8 inches for toiletries, 12–14 for towels. Hallways and entryways: 8–10 inches so you don’t clip your shoulder. Deeper isn’t better — it’s just harder to reach into.
- Light them. I mentioned under-cabinet strips above, but don’t forget interiors: a $5 motion-sensor puck inside a deep bathroom or pantry wall cabinet ends the flashlight-phone routine forever.
- Leave breathing room around fixtures. Keep them clear of door swings, window trim, and the arc of a tall faucet. An inch of clearance beats a chipped cabinet door.
Common Mistakes to Avoid
- Hanging uppers on drywall anchors alone. A loaded kitchen wall cabinet can weigh 50+ pounds. Drywall anchors flex, loosen, and eventually fail — I’ve seen the aftermath and it isn’t pretty. Fix: drive mounting screws into wall studs, or use a French cleat screwed to studs that the cabinet hangs on.
- Going too deep in tight rooms. A 15-inch-deep wall cabinet in a narrow galley kitchen or small bathroom looms over you and steals headroom. Fix: stick to 12 inches in kitchens and 8–10 inches in baths and hallways.
- Mounting everything at the same height out of habit. The “standard” 54-inch bottom edge assumes an average-height cook at a standard counter. If your household is short, tall, or uses the cabinets from a seated position, adjust. Fix: tape the outline at your chosen height and reach into it for a day.
- Putting daily items on the top shelf. The coffee you drink every morning should not require a step stool. Fix: zone your uppers — daily items between shoulder and eye level, weekly items one shelf up, seasonal items at the very top.
- Skipping ventilation in bathroom cabinets. Sealed wood cabinets in a steamy bathroom swell, warp, and grow mildew behind the doors. Fix: choose moisture-resistant materials for bathroom cabinets, leave a small gap behind or beneath for airflow, and run the bath fan during showers.
- Buying before measuring the doorways and stairwells. A 36-inch-wide wall cabinet doesn’t turn every hallway corner. Fix: measure every doorway, turn, and staircase on the delivery path — not just the wall it will hang on.
Wall Cabinets at a Glance
| Category | Best Pick | When to Use It |
|---|---|---|
| Kitchen display | Glass-front uppers | When you want dishes to double as decor and the kitchen to feel bigger |
| Kitchen storage max | To-the-ceiling uppers | When you need every cubic inch and hate the dusty gap above standard uppers |
| Kitchen corners | Corner wall cabinet with lazy-Susan tray | When your corner cabinet is currently a dark cave of forgotten gadgets |
| Bathroom daily use | Mirrored medicine wall cabinet | When counter space is zero and toiletries need a home at eye level |
| Bathroom bulk | Over-the-toilet wall cabinet | When towels and paper goods have nowhere else to go (mount into studs!) |
| Laundry room | Shallow uppers over the machines | When detergent lives on top of the dryer and drives you quietly mad |
| Living room | Floating media uppers | When cables and consoles need to disappear but the floor must stay clear |
| Entryway | Slim drop-zone wall cabinet | When keys and mail pile up by the door every single day |
| Style on a budget | New hardware on existing cabinets | When the cabinets are fine but the look is tired — cheapest upgrade here |
Frequently Asked Questions
How deep should wall cabinets be?
Kitchen uppers are typically 12 inches deep — deep enough for dinner plates but shallow enough to reach into comfortably. Bathroom uppers run 8 inches for toiletries and 12–14 inches if you need to store folded towels. In hallways and entryways, keep them 8–10 inches deep so they don’t block the walkway.
How high should wall cabinets be mounted?
In kitchens, the standard is about 54 inches from the floor to the bottom of the wall cabinet — roughly 18 inches above the countertop. Over a bathroom vanity, hang them at comfortable eye level for the household. Always tape the outline on the wall first and check that the most-used shelves sit between shoulder and eye height.
Can you hang wall cabinets on drywall?
You should hang uppers so their mounting screws bite into wall studs, not just drywall. A loaded cabinet is heavy, and drywall anchors alone can loosen over time. If you can’t hit studs, use a French cleat anchored to studs, or choose a lighter freestanding alternative — especially if you’re renting.
Are wall cabinets renter-friendly?
Full wall cabinet installations usually aren’t, since they need multiple stud-mounted screws. But small, light uppers hung on two screws (like a mirrored medicine cabinet) are often fine — check your lease and plan to spackle at move-out. Freestanding over-the-toilet etageres and leaning storage give you the same look with zero holes.
What’s the difference between wall cabinets and upper cabinets?
Nothing — “upper cabinets” is just the kitchen-industry name for wall cabinets. They both mean cabinets mounted to the wall above counter height. “Floating cabinets” usually means wall cabinets with no visible brackets, mounted so they appear to hover.
How much weight can wall cabinets hold?
A properly installed wall cabinet screwed into studs can typically hold several hundred pounds across its mounting rail, but the real limit is the cabinet’s construction and shelves — most shelves are rated around 25–50 pounds each. Keep heavy items like cast iron low (in base cabinets) and use uppers for dishes, glasses, and dry goods.
What color wall cabinets make a small kitchen look bigger?
White, off-white, and light warm neutrals reflect the most light and make the walls recede, which reads as more space. Glass-front uppers also help — your eye travels through the glass instead of stopping at a solid door. If you love color, put it on the base cabinets and keep the uppers light.
Do wall cabinets need to match the base cabinets?
No — and two-tone kitchens are one of the most popular looks right now. A common formula is darker or bolder base cabinets with lighter uppers, which keeps the room feeling open up top. If you mix, repeat one element (hardware finish, wood tone, or undertone) so the two look intentional rather than accidental.
Final Thoughts
Wall cabinets are one of those upgrades that pay you back every single day — clearer counters, calmer rooms, and storage exactly where you need it. Start with the room that bothers you most, pick the idea that fits your budget and your lease, and hang it right: studs, sensible depth, and daily items at eye level. Do that, and your walls will finally pull their weight.

Founder of NestFlavors — sharing tested recipes and honest home ideas, made for real life.