

Your slow cooker might be the hardest-working appliance you barely use — let’s fix that today.
If you just got a slow cooker (or dug one out of a cabinet), learning how to use a slow cooker is simpler than you think: prep your ingredients, layer them in the pot, add a little liquid, set it to Low or High, put the lid on, and walk away. Hours later, dinner is waiting. No hovering, no stirring, no stress.
In this guide, I’ll walk you through exactly how to use a slow cooker for the first time — the 7 steps, a timing chart for High vs. Low, what cooks beautifully (and what turns to mush), the food safety rules that actually matter, and 5 dead-simple starter recipes. By the end, you’ll cook your first meal with total confidence.
What Is a Slow Cooker?
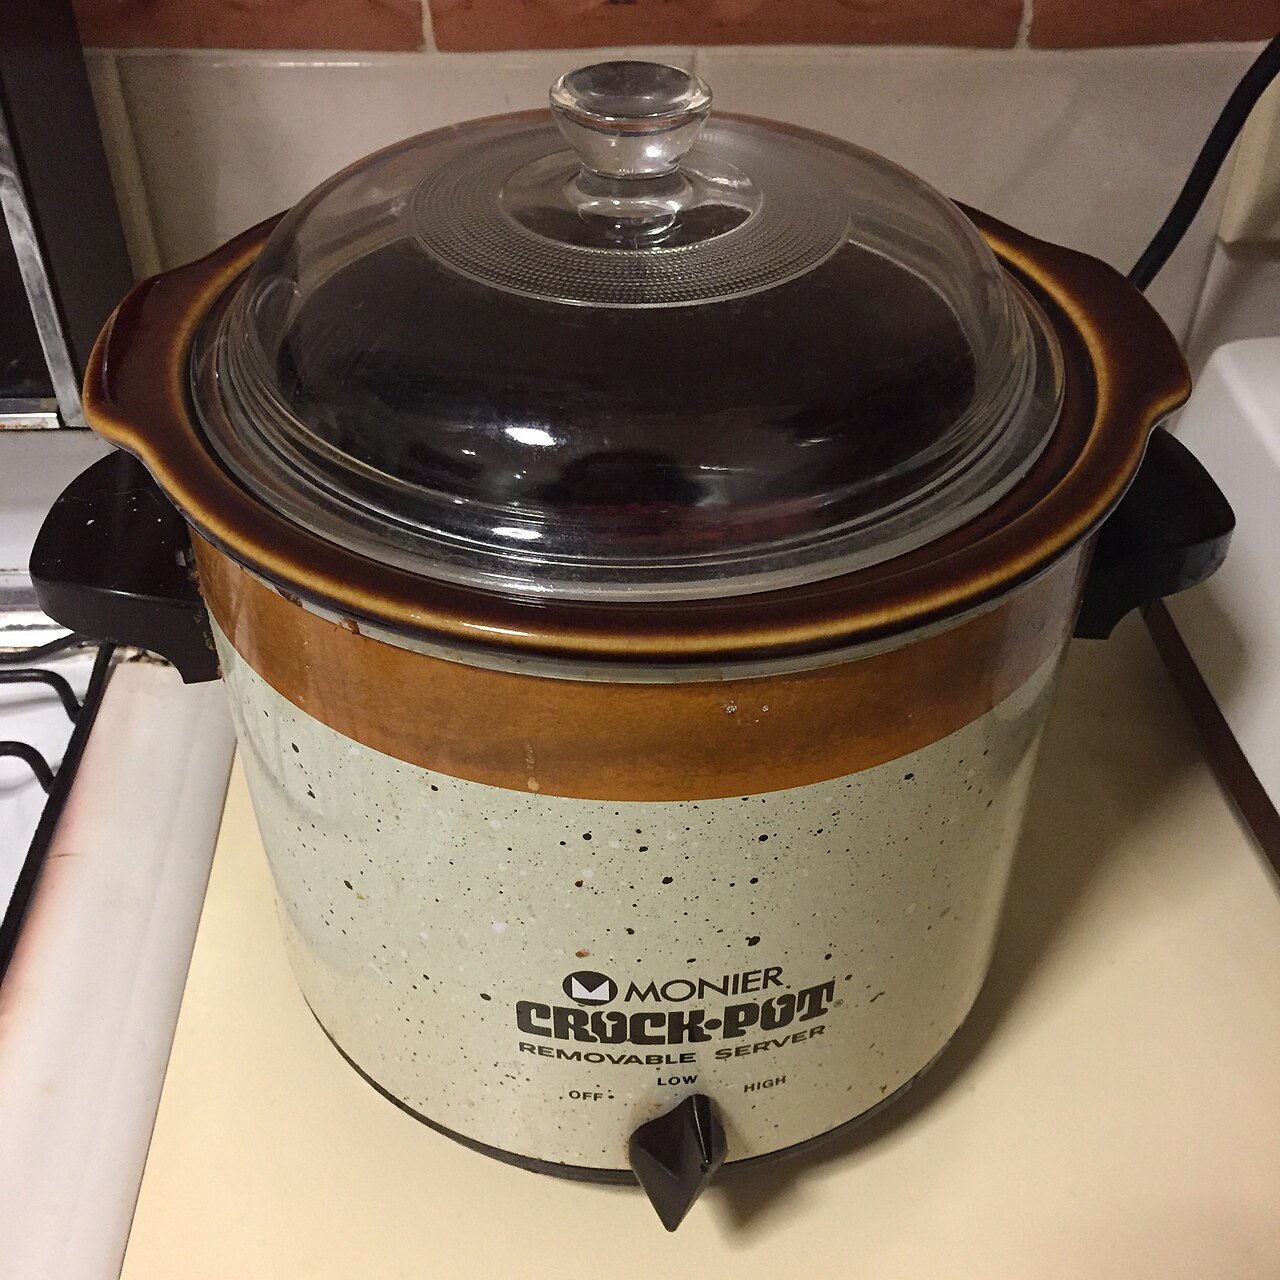
A slow cooker is an electric countertop appliance that cooks food slowly at a low temperature over several hours, using a heavy ceramic or stoneware pot (the “crock”) that sits inside a heated base. The tight-fitting lid traps heat and moisture, so tough cuts of meat turn tender and flavors meld together while you go about your day.
You might know it as a Crock-Pot — that’s just the most famous brand name, and in many American kitchens the two words mean the same thing.
Why You’ll Love Using a Slow Cooker
- True set-it-and-forget-it cooking. Load it in the morning, eat at night. No babysitting the stove.
- Tough, cheap cuts become the best bites. Chuck roast, pork shoulder, and chicken thighs turn silky and shreddable.
- One pot, minimal cleanup. Everything cooks in the removable crock — and liners make it nearly dish-free.
- It sips electricity. A slow cooker uses a fraction of the energy of a full oven, even running all day.
- Forgiving timing. Most recipes have a 1-2 hour window where they’re still perfect — dinner waits for you, not the other way around.
How a Slow Cooker Actually Works
Here’s what most beginner guides skip: understanding the settings is the whole game.
Your slow cooker has three settings, and they do very different jobs:
- Low (around 200°F): the classic all-day setting. Food comes up to a gentle simmer slowly and stays there. This is where tough connective tissue melts into tenderness.
- High (around 300°F): reaches that simmer about twice as fast. Good for shorter cooks, but beef and lamb come out noticeably less tender than on Low.
- Warm: this is not a cooking setting. Warm only holds already-cooked food at serving temperature. Never put raw ingredients in on Warm and expect them to cook — they won’t reach safe temperatures.
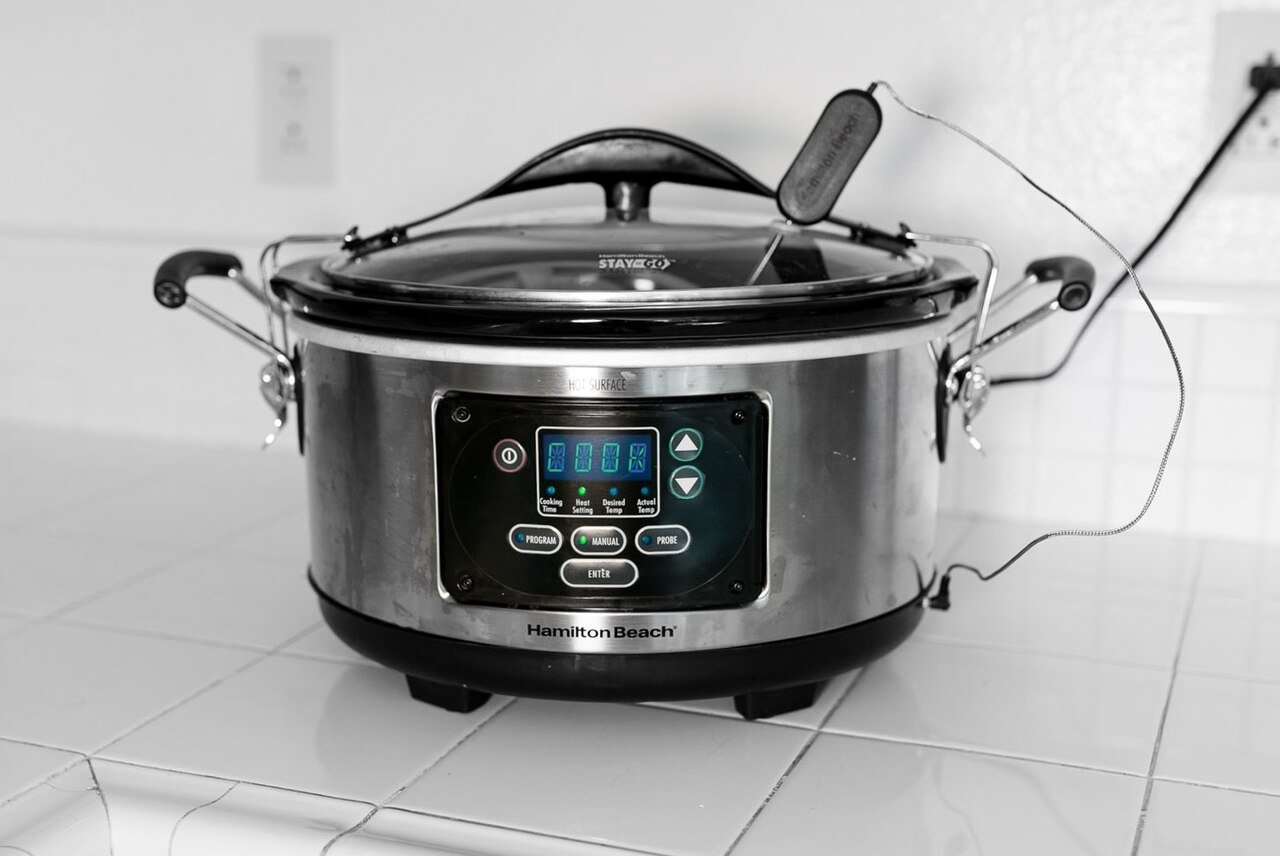
The heating element wraps around the sides and bottom of the base, warming the stoneware evenly. Because the lid stays shut, almost no moisture escapes — which is why slow cooker recipes need far less liquid than stovetop ones, and why lifting the lid is the classic beginner mistake (more on that below).
Try it: before your first cook, do a water test. Fill the crock halfway with water, set it to Low for 8 hours (or High for 4), and check that it holds a steady simmer. You’ll learn your cooker’s personality with zero stakes.
How to Use a Slow Cooker in 7 Simple Steps
Step 1. Prep Your Ingredients
Cut everything to a uniform size so it cooks evenly — bite-size chunks are the sweet spot. And thaw any meat or poultry completely before it goes in; frozen meat can sit too long in the temperature danger zone before the cooker brings it up to safe heat.
Try it: do all your chopping the night before and refrigerate the components in separate bags. Morning-you will be grateful.
Step 2. Layer It Right
Vegetables cook slower than meat in a slow cooker, so they go on the bottom, closest to the heat. Nestle the meat on top. This one habit fixes half of all “my veggies are raw but my meat is done” complaints.
Try it: root vegetables (potatoes, carrots) on the bottom, meat in the middle, delicate items saved for later.
Step 3. Add Liquid — Less Than You Think
This is the #1 beginner shock: use about half the liquid you’d use on the stovetop. The lid traps steam and the food releases its own juices, so a full cup of broth can turn into soup by dinner. For most roasts and braises, ½ to 1 cup of liquid is plenty.
Try it: when in doubt, start with less. You can always stir in a splash of broth at the end — you can’t un-soup a watery stew.
Step 4. Choose Your Setting and Time
Low is your default for all-day cooking and tough cuts. High works when you’re short on time. As a rule of thumb, 1 hour on High equals roughly 1½ to 2 hours on Low — so a roast that needs 8 hours on Low finishes in about 4-5 on High. (Full timing chart below.)
Try it: if your cooker is programmable, set it to switch to Warm automatically when the cook time ends — dinner holds safely for up to 4 hours.
Step 5. Put the Lid On and Walk Away
Seriously — walk away. Every time you lift the lid, the cooker needs 15 to 30 minutes to recover the lost heat, which stretches your cook time. Trust the timer and check only near the end.
Try it: set a phone timer and don’t peek until the last 30 minutes. Your future self will thank you.
Step 6. Check Doneness the Right Way
Time is a guideline; temperature is the truth. A $15 instant-read thermometer ends all guessing: chicken needs 165°F, pork and beef roasts 145°F (plus a short rest), ground meat 160°F. Meat should also be fork-tender — if a fork twists easily in a chuck roast, it’s done.
Try it: check in the last 30-60 minutes of the expected window, then lid back on quickly.
Step 7. Finish and Serve
The last 30 minutes are where good becomes great: stir in dairy (cream, cheese, sour cream) now — it curdles over long cooks. Thicken a thin sauce with a cornstarch slurry. Toss in fresh herbs. Taste and adjust salt, since long cooking can dull seasoning.
Try it: finish every slow cooker meal with something fresh — herbs, a squeeze of lemon, or crunchy toppings. It wakes the whole dish up.
Slow Cooker Timing Chart: High vs. Low
Times vary by cooker and how full it is, so treat these as starting points — your thermometer has the final word.
| Dish | Low | High |
|---|---|---|
| Boneless chicken breasts or thighs | 4-6 hours | 2½-3½ hours |
| Whole chicken (3-4 lbs) | 7-8 hours | 4-5 hours |
| Beef chuck roast (3-4 lbs) | 8-10 hours | 4½-5½ hours |
| Pork shoulder / Boston butt (3-4 lbs) | 8-10 hours | 4-6 hours |
| Beef stew meat (2 lbs) | 7-8 hours | 4-5 hours |
| Soups and chili | 6-8 hours | 3-4 hours |
| Dried beans (soaked overnight) | 6-8 hours | 3-4 hours |
| Steel-cut oats | 7-8 hours | 3-4 hours |
Two timing truths worth memorizing: tough cuts want Low and time — rushing them on High gives you chewy instead of tender. And if your cooker is only half full, start checking 1-2 hours early, since smaller loads cook faster.
What Cooks Best in a Slow Cooker (and What Doesn’t)
Cooks beautifully:
– Tough cuts of meat — chuck roast, pork shoulder, beef brisket, short ribs, chicken thighs and drumsticks. Collagen-rich cuts are the whole point of this appliance.
– Soups, stews, and chili — the classics. Flavors meld over hours in a way a quick simmer can’t match.
– Dried beans and lentils — creamy and even, no soaking babysitting (soak beans overnight first for the most even results).
– Pulled meats — pork, chicken, and beef shred effortlessly after a long Low cook.
– Steel-cut oats and breakfasts — wake up to breakfast; it genuinely works.
– Desserts — bread pudding, cobblers, even cheesecake. The gentle heat is kind to custards.
Doesn’t belong (or needs special handling):
– Lean, tender cuts — chicken breasts can work but dry out fast; tenderloin and sirloin just get tough. Choose fatty, tough cuts instead.
– Dairy — milk, cream, and cheese break down over hours. Stir them in during the last 15-30 minutes.
– Delicate vegetables — zucchini, peas, spinach, and fresh herbs turn to mush. Add them in the last 30-60 minutes.
– Pasta and rice — they overcook into paste over hours. Cook separately, or stir in during the last 30 minutes.
– Seafood — most fish overcooks fast. Add it in the final 30-60 minutes only.
Slow Cooker Food Safety Rules
I’m a cook, not a food scientist — but these rules come straight from USDA guidance, and they matter more than any recipe tip:
- Thaw meat and poultry first. Always. Frozen food takes too long to climb out of the danger zone (40-140°F), where bacteria multiply fast.
- Don’t cook on Warm. Warm holds cooked food hot — it can’t safely cook raw food. Same goes for reheating: warm up leftovers on the stove or microwave, not in the cooker.
- Keep the lid on. Besides the timing penalty, an open lid lets the temperature drop into unsafe territory.
- Fill it ½ to ¾ full. Too empty and food overcooks; too full and heat can’t circulate to cook everything safely and evenly. For soups, leave about 2 inches below the lid.
- Mind the 4-hour Warm limit. Once cooking is done, food can hold on Warm for up to 4 hours. After that — or within 2 hours of it cooling down — refrigerate leftovers.
- Power outage? When in doubt, throw it out. If the power cut out and you don’t know for how long, the food inside isn’t worth the risk.
Your First Cook: Hour-by-Hour Sunday Pot Roast
Most guides explain how to use a slow cooker but never walk you through a real day. Let’s fix that — here’s exactly how your first cook goes.
Saturday night (10 minutes): Cut 2 lbs of carrots and 2 lbs of potatoes into big chunks. Quarter 2 onions. Pat a 3-lb chuck roast dry and rub it with 2 tsp salt, 1 tsp black pepper, and 1 tsp garlic powder. Refrigerate everything separately.
Sunday, 8:00 AM: Layer the vegetables in the crock, set the roast on top, and pour in 1 cup of beef broth (remember — less liquid than you think). Optional but worth it: sear the roast 3 minutes per side in a hot skillet first for deeper flavor, then deglaze the pan with the broth and pour all of it in.
8:15 AM: Lid on. Set to Low for 8-9 hours. Walk away. Go live your Sunday.
4:00 PM: Quick check with your thermometer — you’re looking for fork-tender meat (it should shred with a twist of the fork) and an internal temp well past 145°F. If the sauce is thin, whisk 2 tbsp cornstarch with 2 tbsp cold water, stir it in, and cook on High with the lid on for 20 more minutes.
4:30 PM: Taste, adjust salt, and serve. That’s it — you just slow-cooked.
The pattern never changes: prep → layer → little liquid → Low → lid → thermometer → finish. Every recipe from here on is a variation on this day.
How to Convert Any Recipe to Slow Cooker
Once you trust the method, you’ll start converting your favorite oven and stovetop recipes. Three rules:
- Cut the liquid by a third to a half. Nothing evaporates under that lid. You can always add more at the end.
- Pick the setting by the original temperature. Recipes that simmer on the stovetop or bake above 300°F convert to High; gentle oven braises below 300°F convert to Low.
- Stretch the time. A 1-hour oven braise becomes roughly 4-5 hours on High or 7-8 on Low. Tough cuts always lean longer and lower.
And shift the delicate stuff: dairy, fresh herbs, and quick-cooking vegetables move to the last 30-60 minutes no matter what the original recipe says.
5 Easy Starter Recipes to Try Next
These five are nearly impossible to mess up — minimal ingredients, forgiving timing, and they teach you a different slow cooker skill each.
1. Salsa Verde Chicken (your easiest win)
You need: 2 lbs boneless chicken breasts or thighs, 1 jar (16 oz) salsa verde, 1 tsp cumin.
Method: Everything in the crock, Low 4-6 hours, shred with two forks. Serve in tacos or over rice.
Why it works: Three ingredients, zero chopping, and it teaches you the shred test for doneness. Try it: pile it on tortillas with pickled onions.
2. Sunday Pot Roast (the classic)
You need: 3-lb chuck roast, 2 lbs potatoes, 1 lb carrots, 2 onions, 1 cup beef broth, salt, pepper, garlic powder.
Method: Veg on the bottom, roast on top, Low 8-10 hours. Thicken the juices if you like.
Why it works: This is the dish slow cookers were born for — tough cut, long time, total transformation. Try it: leftovers make unreal sandwiches the next day.
3. Pulled Pork (feeds a crowd)
You need: 3-4 lb pork shoulder, 1 sliced onion, 1 cup BBQ sauce, 2 tbsp brown sugar, 1 tbsp smoked paprika.
Method: Onion bed, pork on top, sauce over everything, Low 8-10 hours. Shred, toss with the juices.
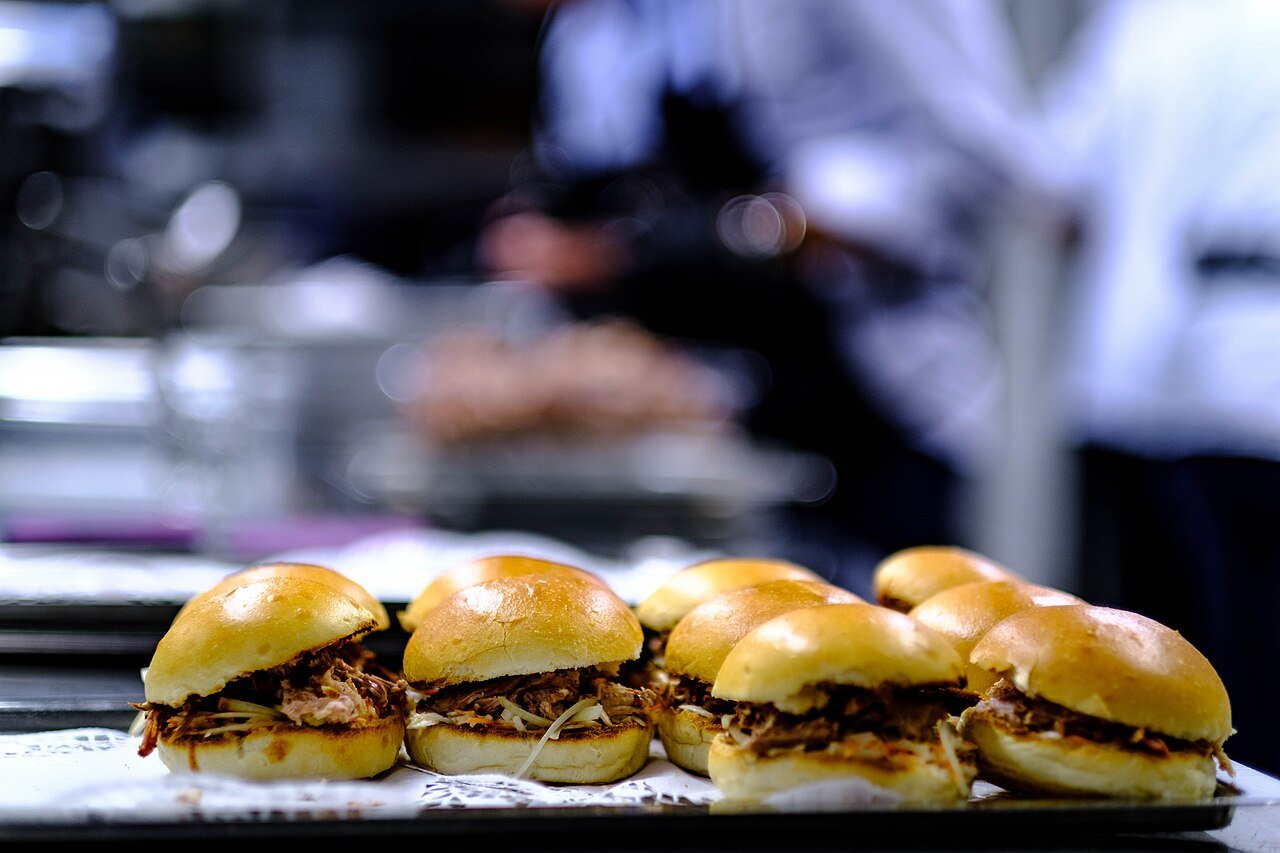
Why it works: Pork shoulder is the most forgiving cut in existence — it’s done when it falls apart looking at it. Try it: serve on buns with coleslaw.
4. White Chicken Chili (dairy done right)
You need: 2 lbs chicken breasts, 2 cans white beans, 1 can corn, 4 cups chicken broth, 1 diced onion, green chiles, cumin and oregano.
Method: Everything except dairy in the crock, Low 6 hours. Shred the chicken, then stir in 4 oz cream cheese and ½ cup sour cream during the last 30 minutes.
Why it works: It teaches the golden dairy rule — creamy without curdling. Try it: top with avocado and tortilla strips.
5. Overnight Steel-Cut Oats (breakfast cooks itself)
You need: 1 cup steel-cut oats, 4 cups water or milk, pinch of salt, cinnamon.
Method: Everything in the crock, Low 7-8 hours overnight. Stir in the morning and top as you like.
Why it works: Proves the slow cooker isn’t just for dinner — and it’s the gentlest possible first cook. Try it: apple slices and a spoonful of peanut butter on top.
Common Mistakes to Avoid
- Adding too much liquid. The #1 beginner mistake. The lid traps every drop of steam, so halve what your stovetop instincts suggest. Fix a watery result by reducing the liquid on High, lid off, for the last 30 minutes — or a cornstarch slurry.
- Lifting the lid to “check.” Each peek costs 15-30 minutes of cook time. Trust the process; check once, near the end.
- Cooking lean cuts low and slow. Chicken breasts, pork tenderloin, and sirloin dry out — they have no collagen to melt. Save the slow cooker for tough, fatty cuts.
- Putting dairy in at the start. Milk, cream, and cheese split and curdle over hours. Always the last 15-30 minutes.
- Overfilling (or underfilling) the crock. Aim for ½ to ¾ full. Crammed to the brim, food cooks unevenly; nearly empty, it scorches and dries.
- Skipping the sear. You don’t have to brown meat first — but 5 minutes in a hot skillet builds flavor no slow cooker can create on its own. Deglaze the pan and pour those browned bits in.
- Seasoning once and walking away. Long cooking dulls salt and dried herbs. Taste at the end and adjust — and add fresh herbs in the final stretch, not the first hour.
Slow Cooker at a Glance
| Topic | The Short Version |
|---|---|
| What it is | Electric appliance that cooks food low and slow in a ceramic crock |
| The 3 settings | Low (~200°F) for all-day; High (~300°F) for faster; Warm holds cooked food only |
| Time rule | 1 hr on High ≈ 1½-2 hrs on Low; most recipes 7-8 hrs Low or 4-5 hrs High |
| Fill level | ½ to ¾ full, never to the brim |
| Liquid rule | Use about half what you’d use on the stovetop |
| Lid rule | Keep it shut — each peek adds 15-30 minutes |
| Food safety | Thaw meat first; never cook on Warm; 4-hour max hold on Warm |
| Best foods | Tough cuts, soups, stews, beans, pulled meats |
| Thermometer targets | Chicken 165°F; pork/beef roasts 145°F + rest; ground meat 160°F |
FAQ About Using a Slow Cooker
Can you put frozen meat in a slow cooker?
No — always thaw meat and poultry completely first. Frozen food spends too long in the 40-140°F danger zone before the cooker brings it up to a safe temperature, even though it cooks for hours.
Can I leave my slow cooker on while I’m at work?
Yes — that’s exactly what it’s designed for. Use the Low setting with a recipe matched to your time away, and if your cooker is programmable, let it switch to Warm when done. Just make sure meat went in thawed.
Do I have to brown meat before slow cooking?
You don’t have to — the food will still cook through. But searing first adds deep, savory flavor (browning) that low heat alone can’t create. If you have 10 spare minutes, it’s the highest-impact step you can add.
What’s the real difference between Low and High?
Mostly speed, not final temperature — both settings bring food to a simmer, but High gets there roughly twice as fast. For tough cuts like chuck roast, Low gives collagen more time to melt, so the texture comes out noticeably more tender.
Why is my slow cooker meal always watery?
Almost certainly too much liquid. Very little evaporates under the lid, and meat and vegetables release their own juices as they cook. Next time, halve the liquid — and fix the current batch by cooking on High with the lid off for 30 minutes or stirring in a cornstarch slurry.
How long can food stay on the Warm setting?
Up to 4 hours, according to manufacturer guidance. After that, refrigerate leftovers promptly — and get them into the fridge within 2 hours of the food cooling down.
Can I reheat leftovers in my slow cooker?
Not safely. The Warm setting can’t bring cold food through the danger zone fast enough. Reheat leftovers on the stove, in the oven, or in the microwave until steaming, then you can hold them in the cooker on Warm for serving.
What size slow cooker should a beginner buy?
A 6-quart oval is the most versatile starting point — big enough for a whole chicken or a 3-4 lb roast, small enough for weeknight meals. Just remember the fill rule: it performs best when ½ to ¾ full, so match the recipe to the pot.
Final Thoughts
Learning how to use a slow cooker comes down to one mindset shift: stop managing dinner and start scheduling it. Prep in the morning (or the night before), trust the Low setting, keep the lid shut, and let time do the work your stove never could.
Start with the salsa verde chicken or the Sunday pot roast above — both are nearly foolproof, and both will make you wonder why the cooker sat in the cabinet so long. Then tell me: what’s the first thing you’re throwing in yours?

Founder of NestFlavors — sharing tested recipes and honest home ideas, made for real life.